vcand
CAN FD Support
The vcand script can be used on Linux (and Linux only) to:
Use the CAN FD features of RAMN directly with socketcan (i.e., as a CAN FD-compatible alternative to slcand).
Multiplex RAMN’s serial interface, so it can be opened by different applications at the same time.
To use it, start by executing 0_SetupVCAN.sh:
$ sudo ./0_SetupVCAN.sh
This should start a virtual CAN interface called “vcan0”, which should show up with $ ifconfig.

If you only want to use vcand for its CAN FD slcan support, you can run RAMN_VCAND.py from this step:
$ sudo python RAMN_VCAND.py
You can select which serial port to use for RAMN by editing VCAND_HARDWARE_PORT (default: AUTODETECT) in scripts/settings/linux.ini or by using the -r option. Then, you should be able to see RAMN’s CAN traffic on vcan0, for example with:
$ cansniffer -c vcan0
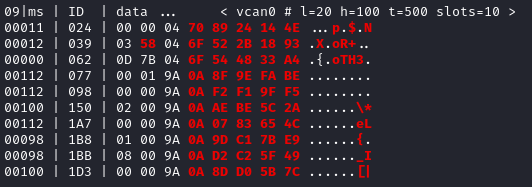
Contrary to slcand, this script will support CAN FD frames.
Serial Multiplexing (2 ports)
If you want to keep RAMN’s serial port accessible even when Linux is using it as a CAN interface, you can use the multiplexing feature of this script. Open a new terminal and execute:
$ sudo ./1_SpawnTTY.sh

This will create a pair of virtual serial devices, in this case /dev/pts/3 and /dev/pts/4.
Note
If you do not want to open several terminals, you can execute this script in the background instead:
$ sudo ./1_SpawnTTY.sh &
If you do not see any output, try executing this command instead to spawn the terminals:
$ socat -d -d pty,raw,echo=0 pty,raw,echo=0
You must provide the first device that you created as a parameter to RAMN_VCAND.py, and you will be able to use the second device as you would use RAMN without multiplexing.
Execute the script with the -p1 argument to provide the path to the first device:
$ sudo python RAMN_VCAND.py -p1 /dev/pts/3
From this step, you can use the vcan0 interface while still being able to access RAMN’s serial port. However, you should not use RAMN’s hardware serial port (e.g., /dev/ttyACM0) anymore, but use the second device instead (in this case, /dev/pts/4).
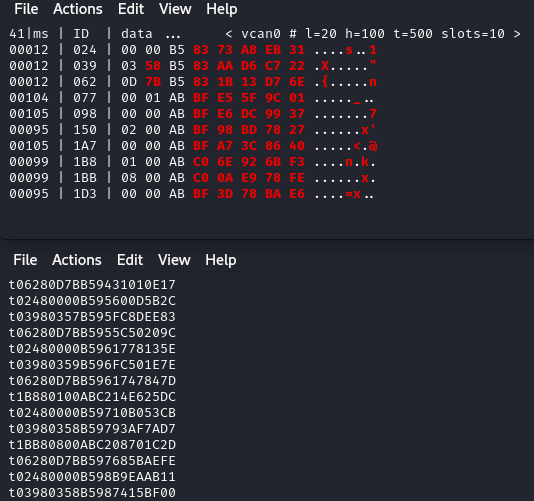
For example, you can observe CAN traffic on vcan0 while accessing the serial terminal on /dev/pts/4:
$ sudo picocom --imap crcrlf --echo /dev/pts/4
This will allow you for example to observe CAN traffic even when you are using CARLA scripts and diagnostic scripts. To achieve this, you will need to set PORT in scripts/settings/linux.ini to the second pts (in this example, /dev/pts/4).
Serial Multiplexing (3 ports)
If you want to use a third port (to observe the CAN bus while you are using both the CARLA scripts and diagnostic scripts), you can execute 1_SpawnTTY.sh to spawn a new pair of devices. Then, provide the first device of each pair as -p1 and -p2 arguments. You will then be able to use the second device of each pair as serial terminals. Note that all data is mirrored between the two ports.
Execute the following command to spawn a new pair of virtual devices:
$ sudo ./1_SpawnTTY.sh

Then, provide the first device of each pair as -p1 and -p2 arguments:
$ sudo python RAMN_VCAND.py -p1 /dev/pts/3 -p2 /dev/pts/10
Warning
Make sure that you do not use two devices belonging to the same pair as -p1 and -p2 (e.g., -p1 /dev/pts/3 -p2 /dev/pts/4 or -p1 /dev/pts/10 -p2 /dev/pts/11), as this would create a feedback loop that would overflow the device.
Then, you should be able to access the ports from the second devices, in this example /dev/pts/4 and /dev/pts/11. For example, you can type in two different terminals:
$ sudo picocom --imap crcrlf --echo /dev/pts/4
and
$ sudo picocom --imap crcrlf --echo /dev/pts/11
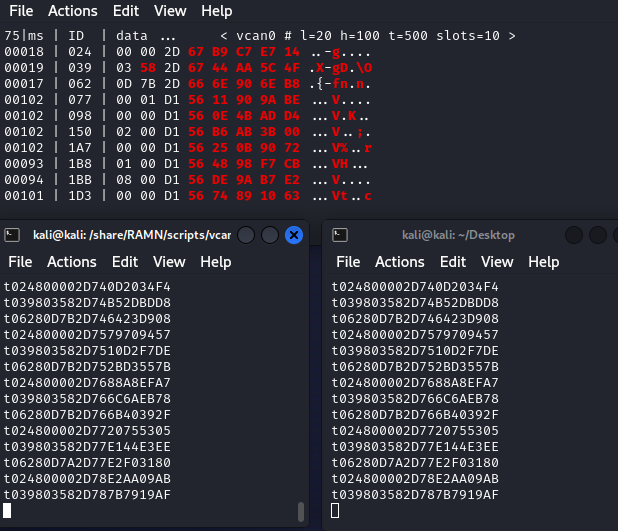
From this point, you should be able to interact with the same traffic from three different interfaces.